Connected Thermometer

The task ended up being a larger undertaking than I originally planned for. I've set up projects for the raspberry Pi, but connected to the ITP Sandbox network proved to be a challenge. Following the networks instructions, I can set up the pi without issue. However, I could not get to SSH over USB. I fell down the rabbit hole for a long time trying to get it up, but no matter what I tried my laptop running Kubuntu 18.04 would not recognize my raspberry pi through USB, but I could ssh when connected over WiFi. I believe the problem is that when I plug my pi, it does not assign an IP address for me to connect to. After setting up a static IP address for my Pi, I was able to successfully SSH using PuTTY on Windows one time. All subsequent attempts failed, and at no time would my Kubuntu OS recognize the pi. After consulting Koji, he suggested that sometimes Raspberry Pis have faulty components and that I shouldn't spend so much time on this non-issue. So I stopped.
Workflow
In the past couple of months my editor of choice is VIM, a CLI text editor. While there is a steep learning curve, I find that it is a lot faster to work on, particularly when working on server stuff as I don't have to leave the terminal and can do a lot of things from the command line.
Particularly when interfacing with the Pi through SSH, I can write code directly on the pi thereby skipping any steps to copy files to the Pi.
For others not comfortable using CLI editors, other workflows can include creating a git repo and pushing and pulling from local to the Pi works well.
Another useful cli program is to do a secure copy: scp <filename.ext> <username>@<raspihost>.local:<file location>
Any of these options are much better than what I've see some people do, which is code locally in Atom opening up the terminal and copying the code to paste into nano on the pi.
Software
When I got to work on using the pi, I had a few unexpected issues when accessing the GPIO pins. I enabled the settings through raspi-config menu but what eventually worked for me was to add my user to the GPIO user group and the SPI user group.
This is my first project using Node.js to program the raspberry pi. Normally I write pi scripts with python using the PyGPIO library. The pygpio library is pretty robust and easy to use, but for this project I wanted ot use javascript as many of my classes have been using node.js and I want to get better on this stack.
The node package for the raspberry pi is on-off and it worked quite well for me. However, I couldn't get the rotary encoder to read data using onoff, luckily I found a handy package called onoff-rotary which provided me with the function.
Formatting the JSON proved to be a challenge as well. I kept having problems reading variables and putting it in JSON format, I kept having unexpected results. What worked for me was using ES6 template literals to do string replacements. I actually quite liked this because I ended up with cleaner code in general.
For persistence I found instructions for writing a shell script that would restart my wlan0 if it loses WiFi connection and writing a cronjob to run every five minutes. Combining this with executing my thermometer program at boot I hope to have a standalone system that will run for this week.
Physical
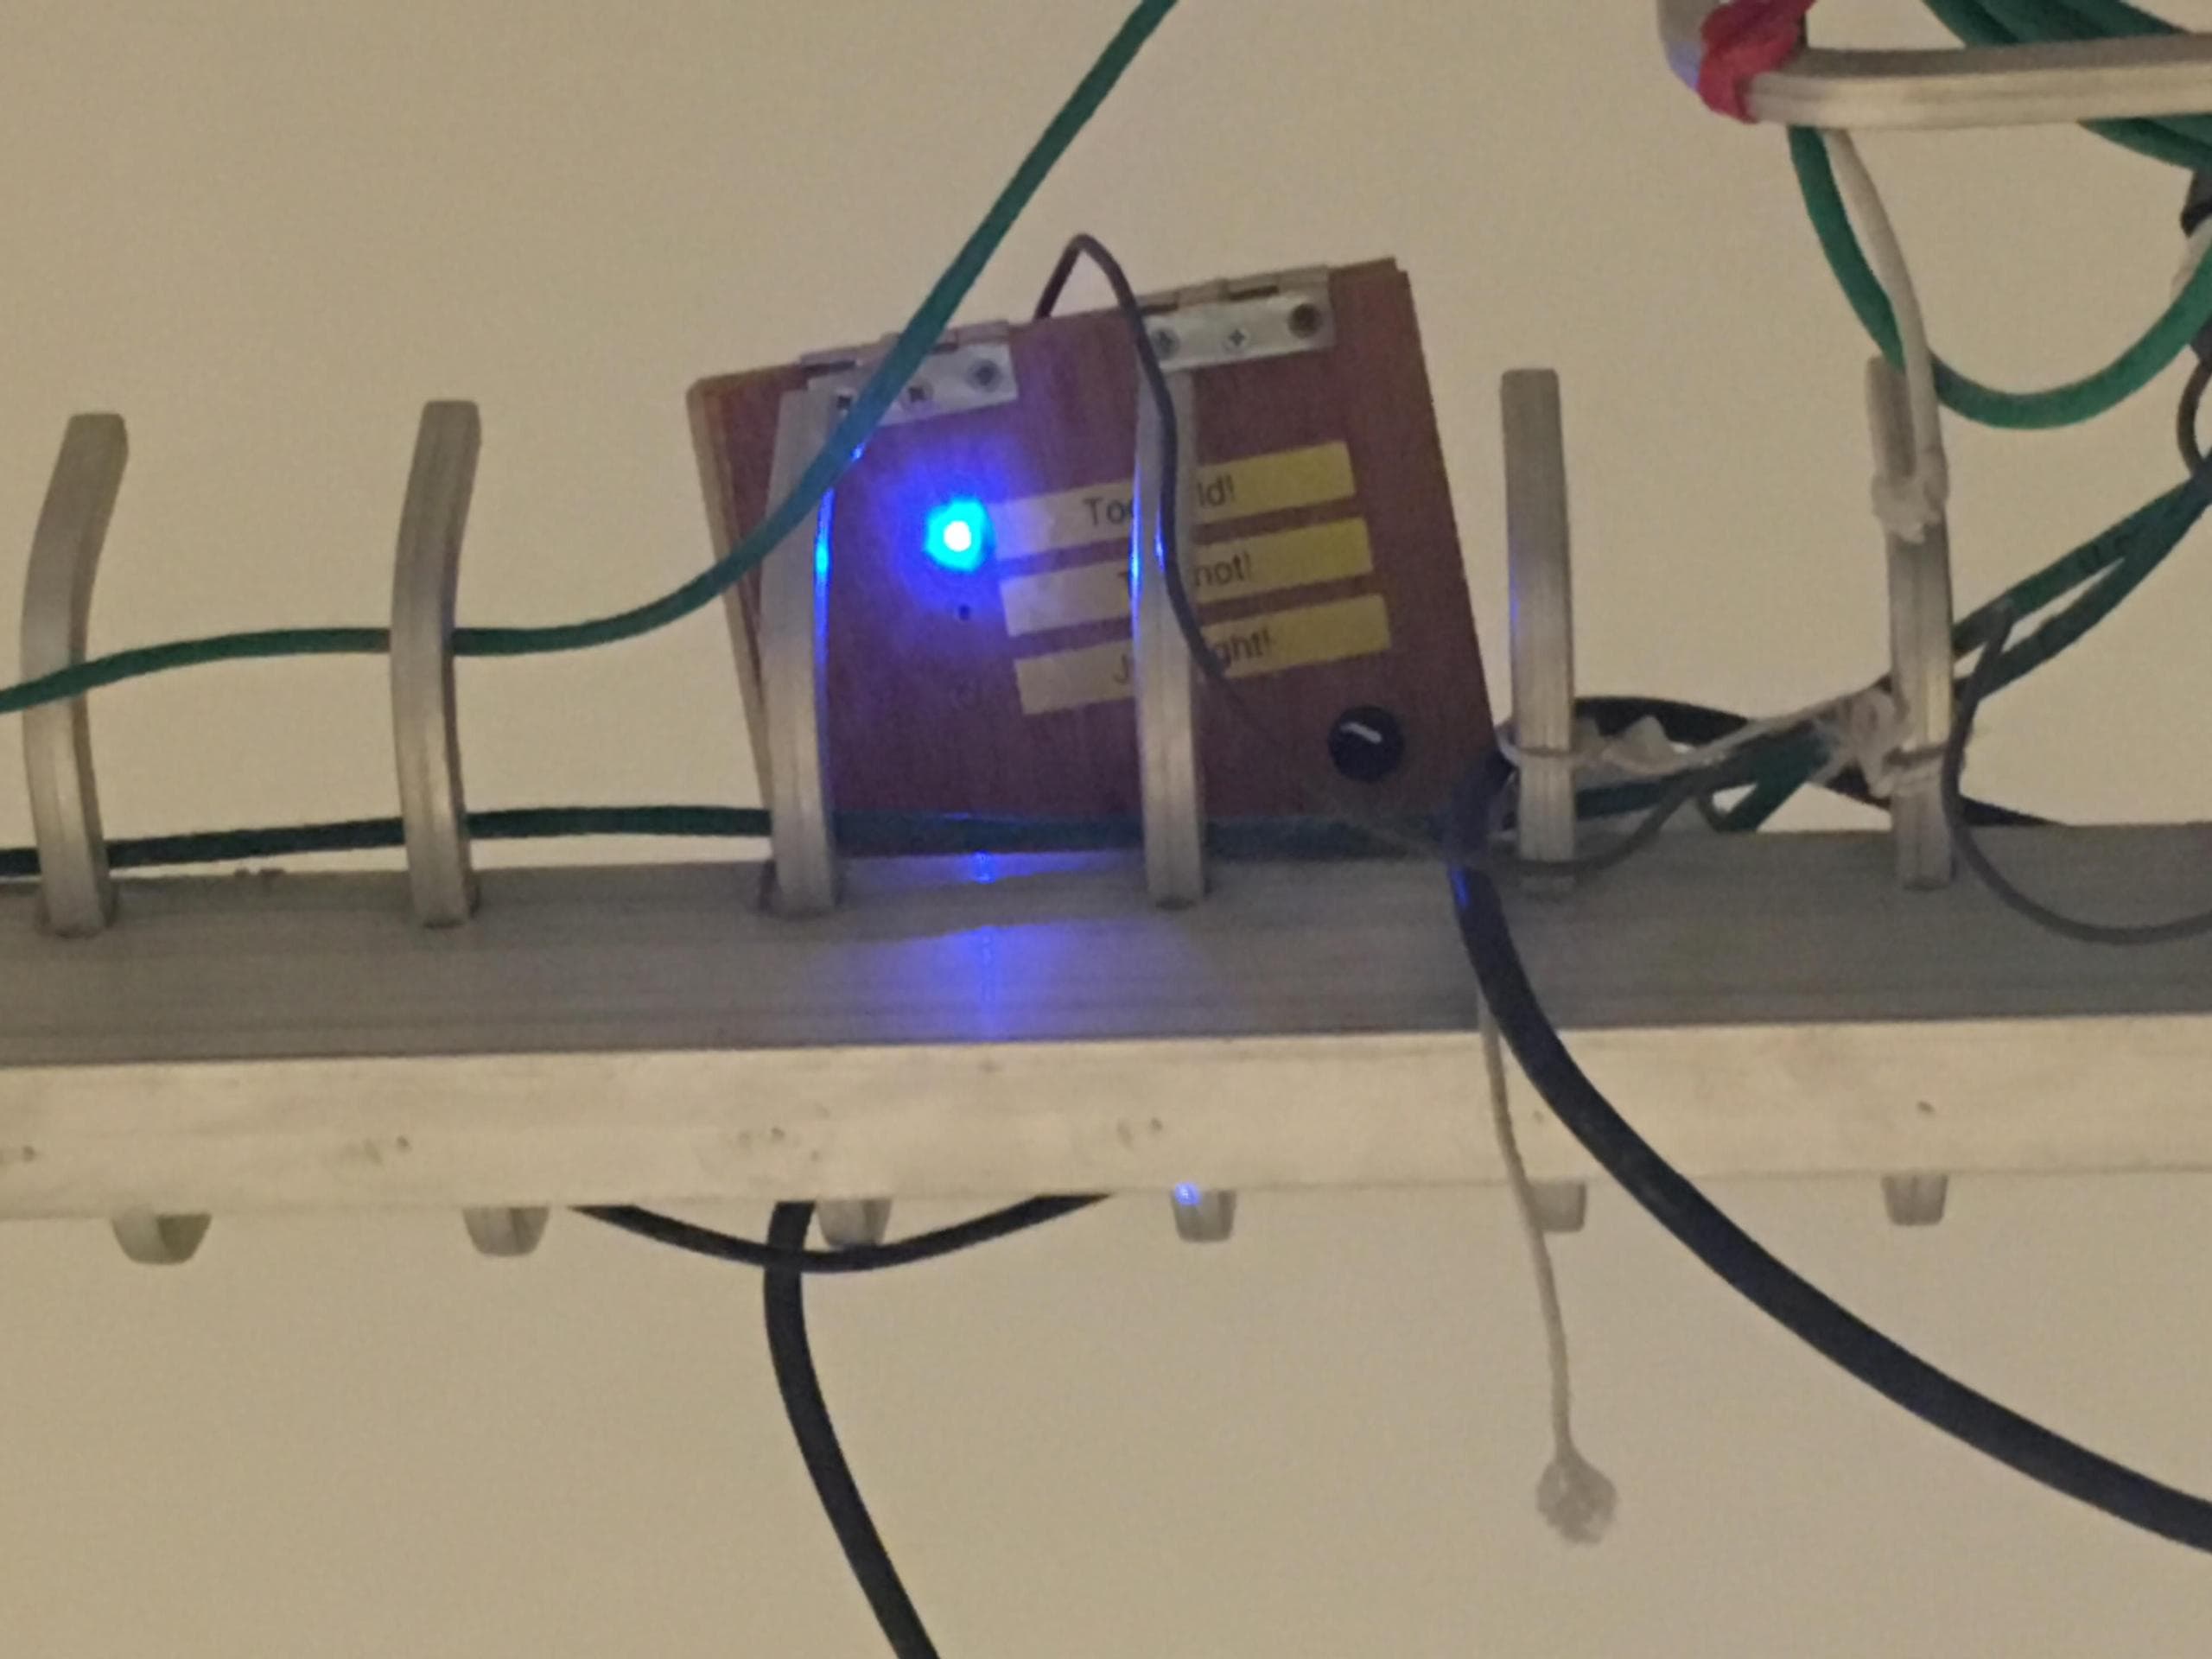
For my physical interface I decided to keep it very minimal. Since the assignment is not to affect the temperature, I decided that a handy tool would be to get the "real feel" of temperature. Essentially it is either too hot, too cold, or just right.
With this in mind I needed to have 3 LEDS to display the current feel, and a dial to switch. The program sends the temperature and the feel that is set.
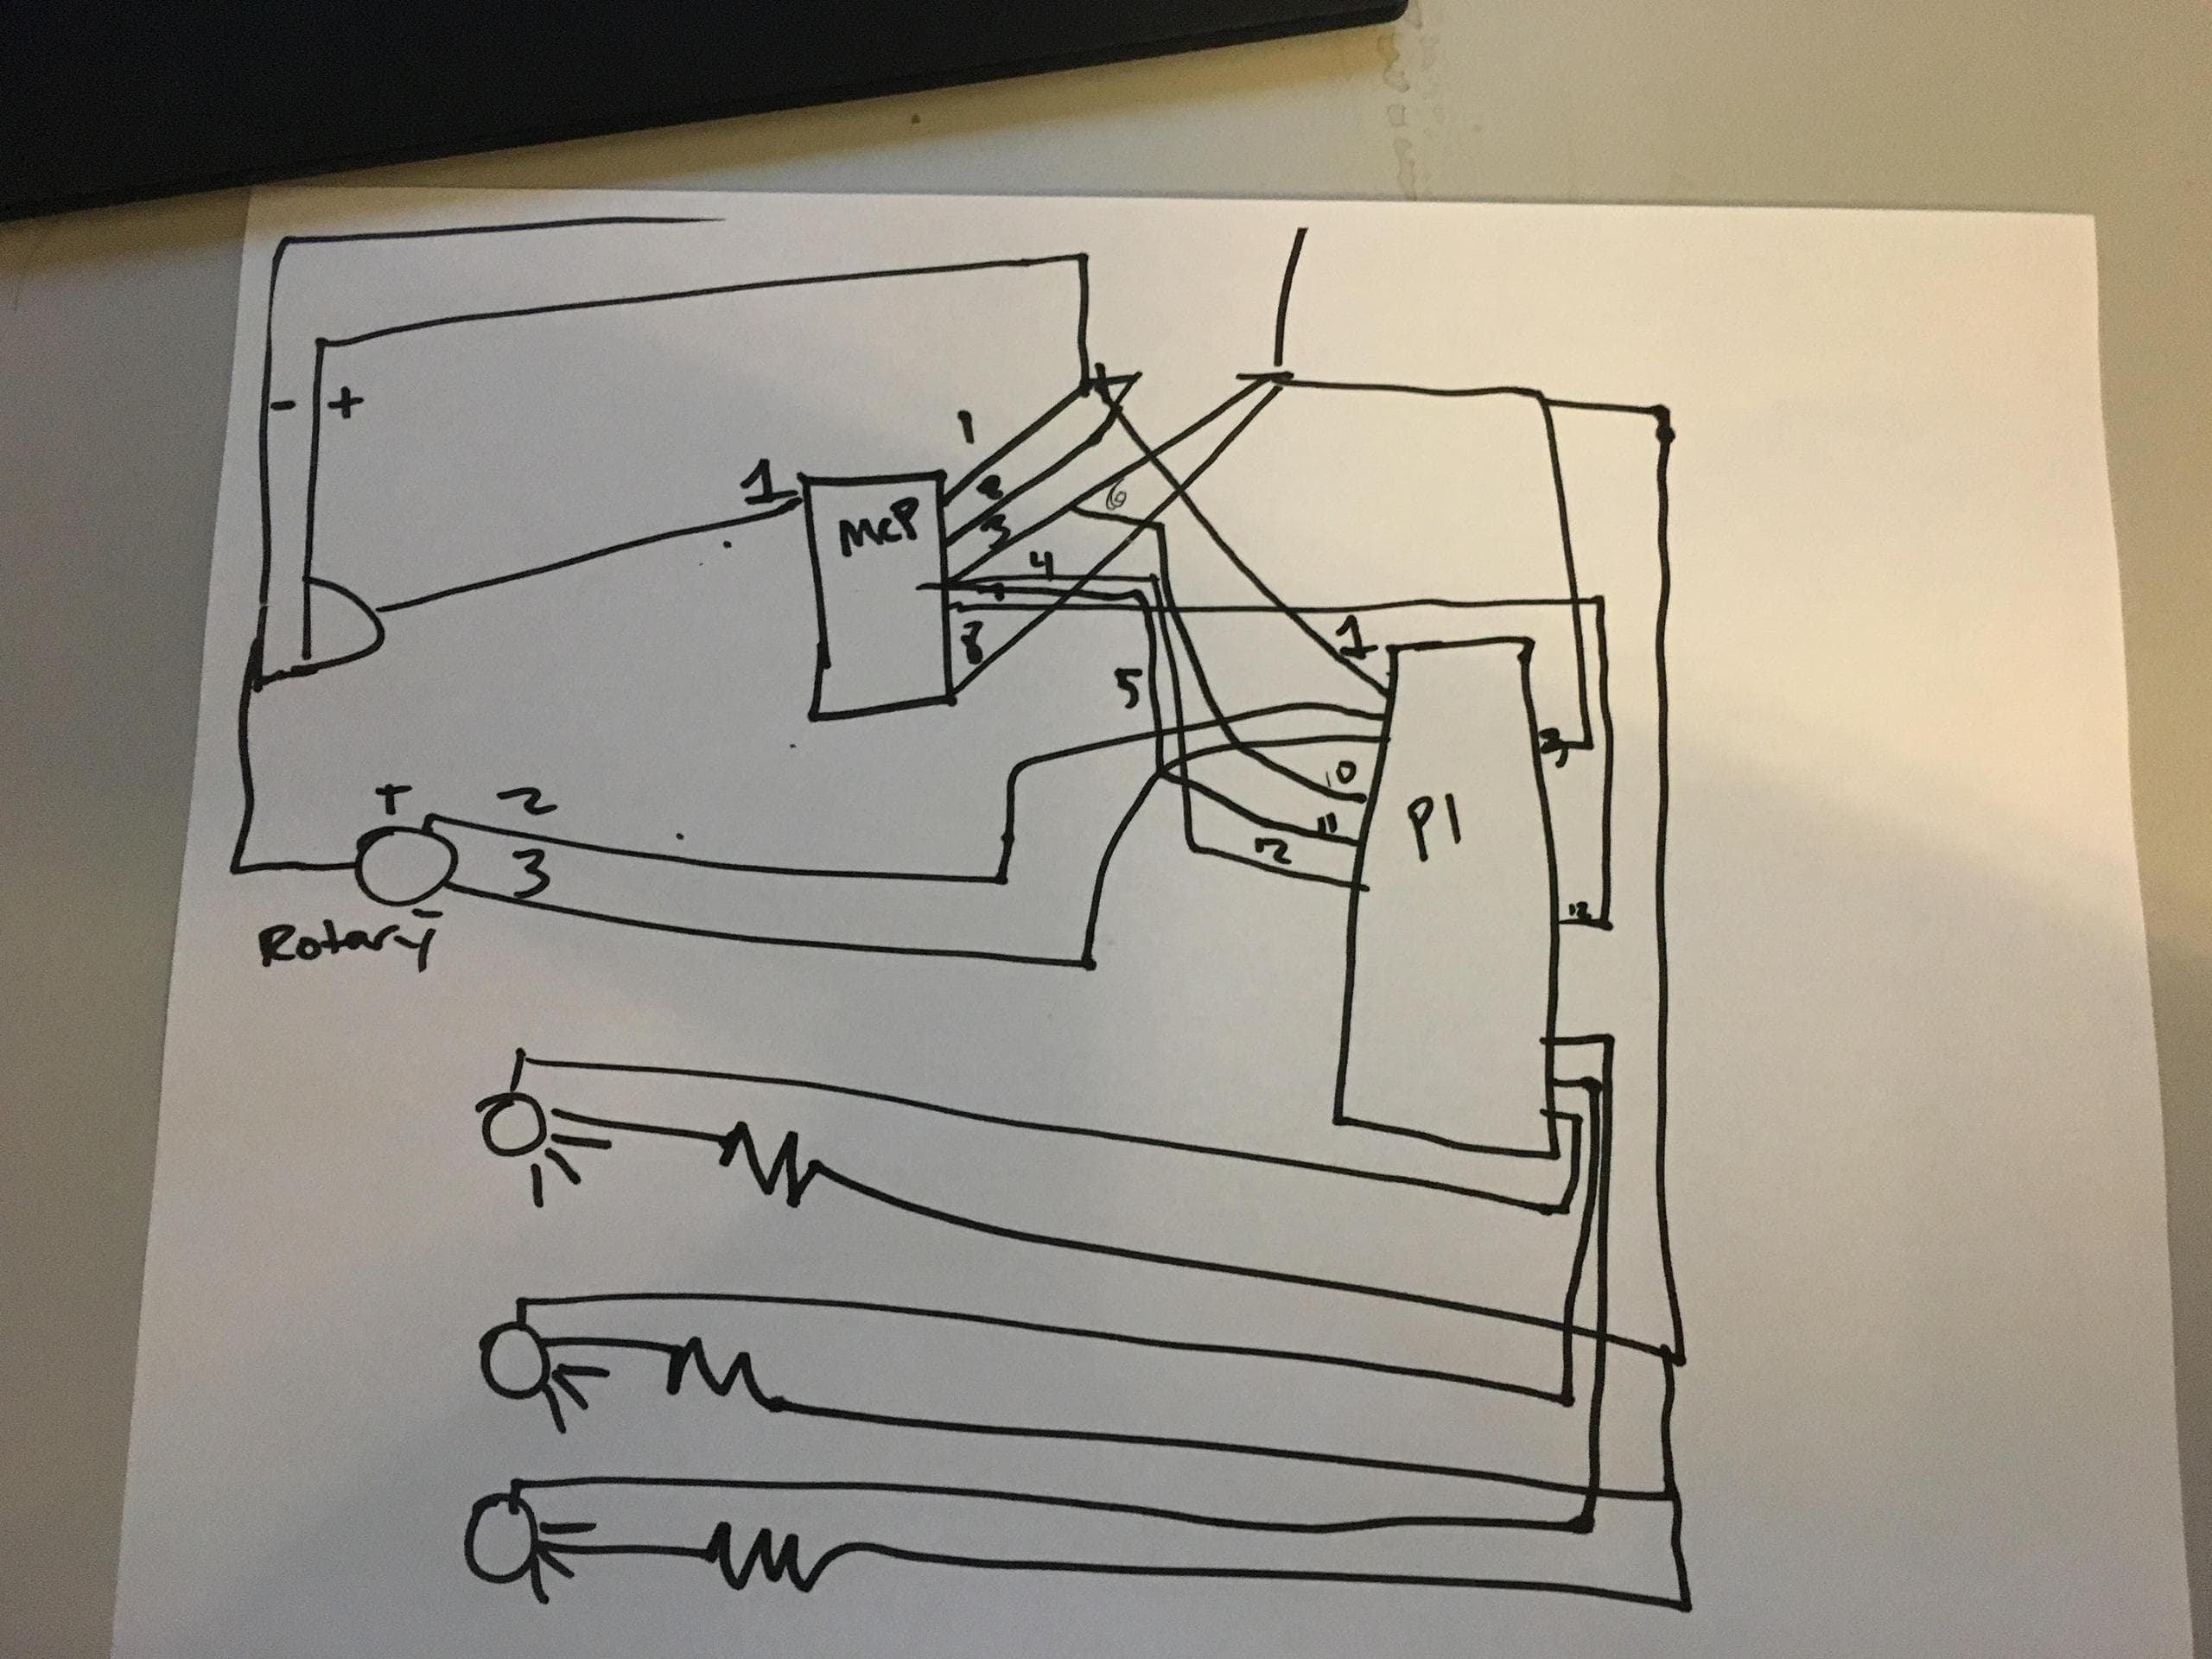
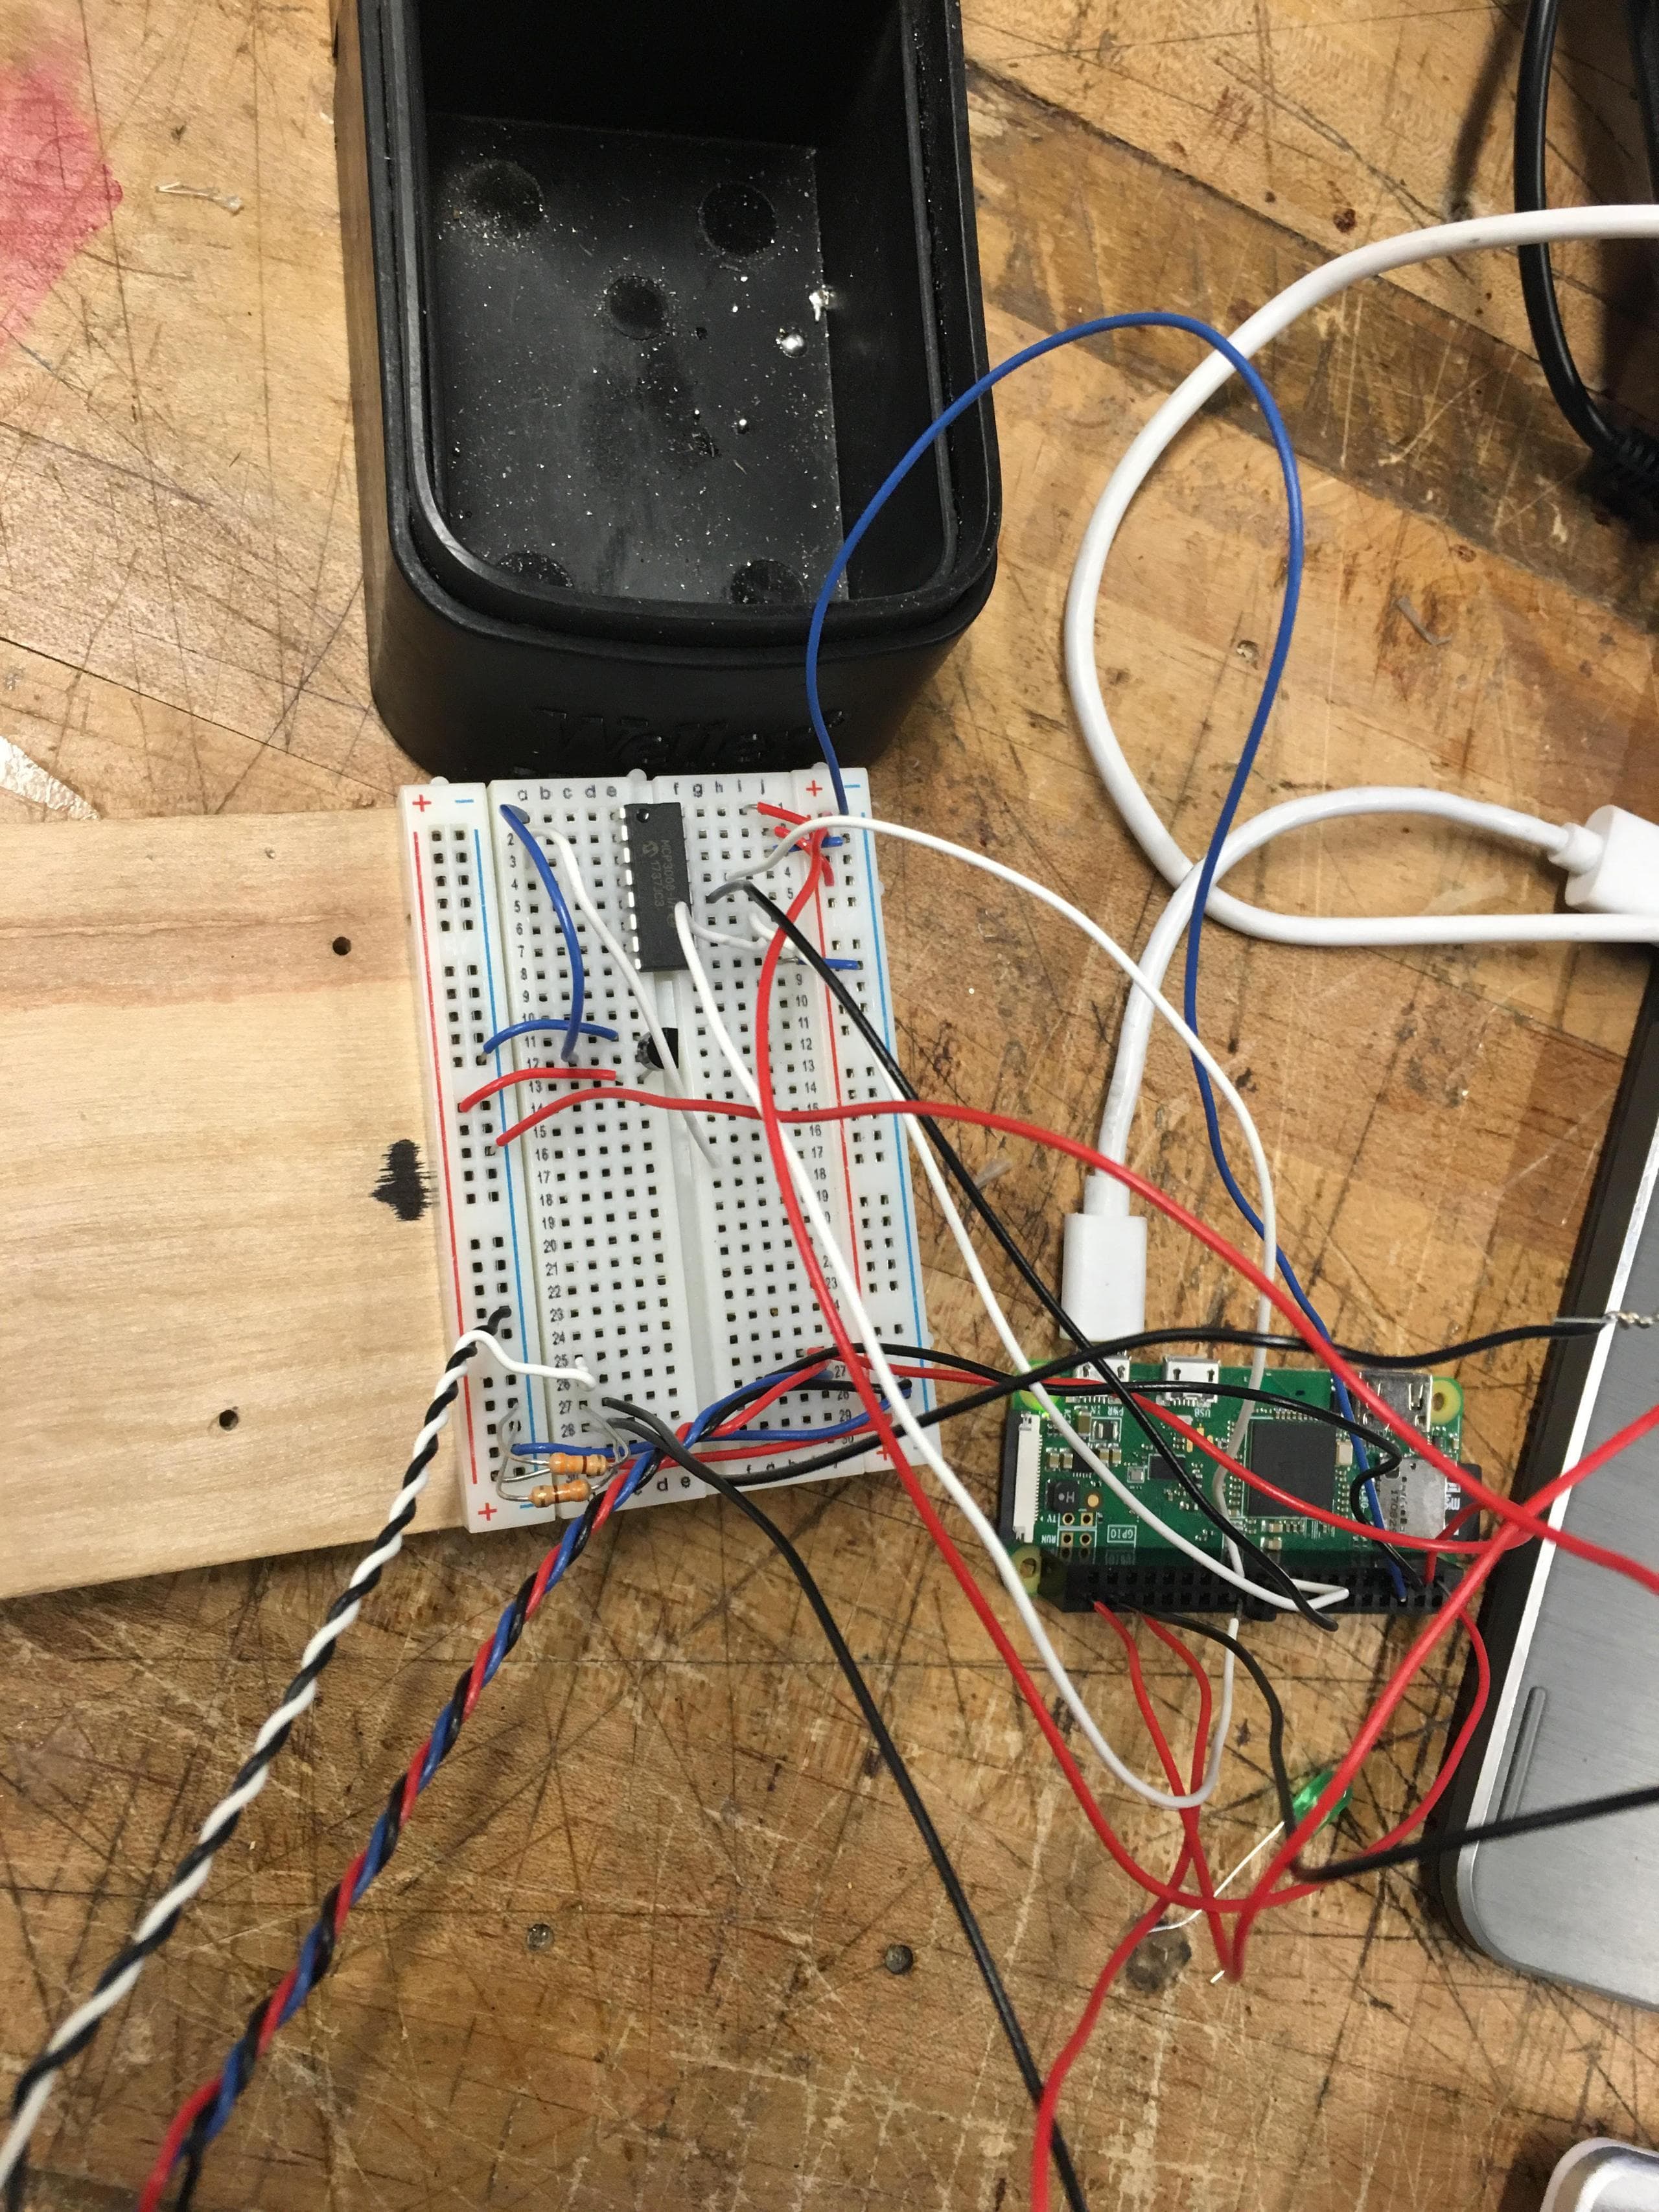
After breadboarding my circuit, I wanted to solder everything down to a more robust circuit that would last a week. After a very tedious set up and a lot of fear since my past experience transferring a breadboard to a protoboard didn't go so well, I went for it. After a long soldering session, I plugged in my board, and got a reading of 280 for temperature. After some online research, I pinpointed this to my temperature sensor (TMP36) being wired incorrectly.
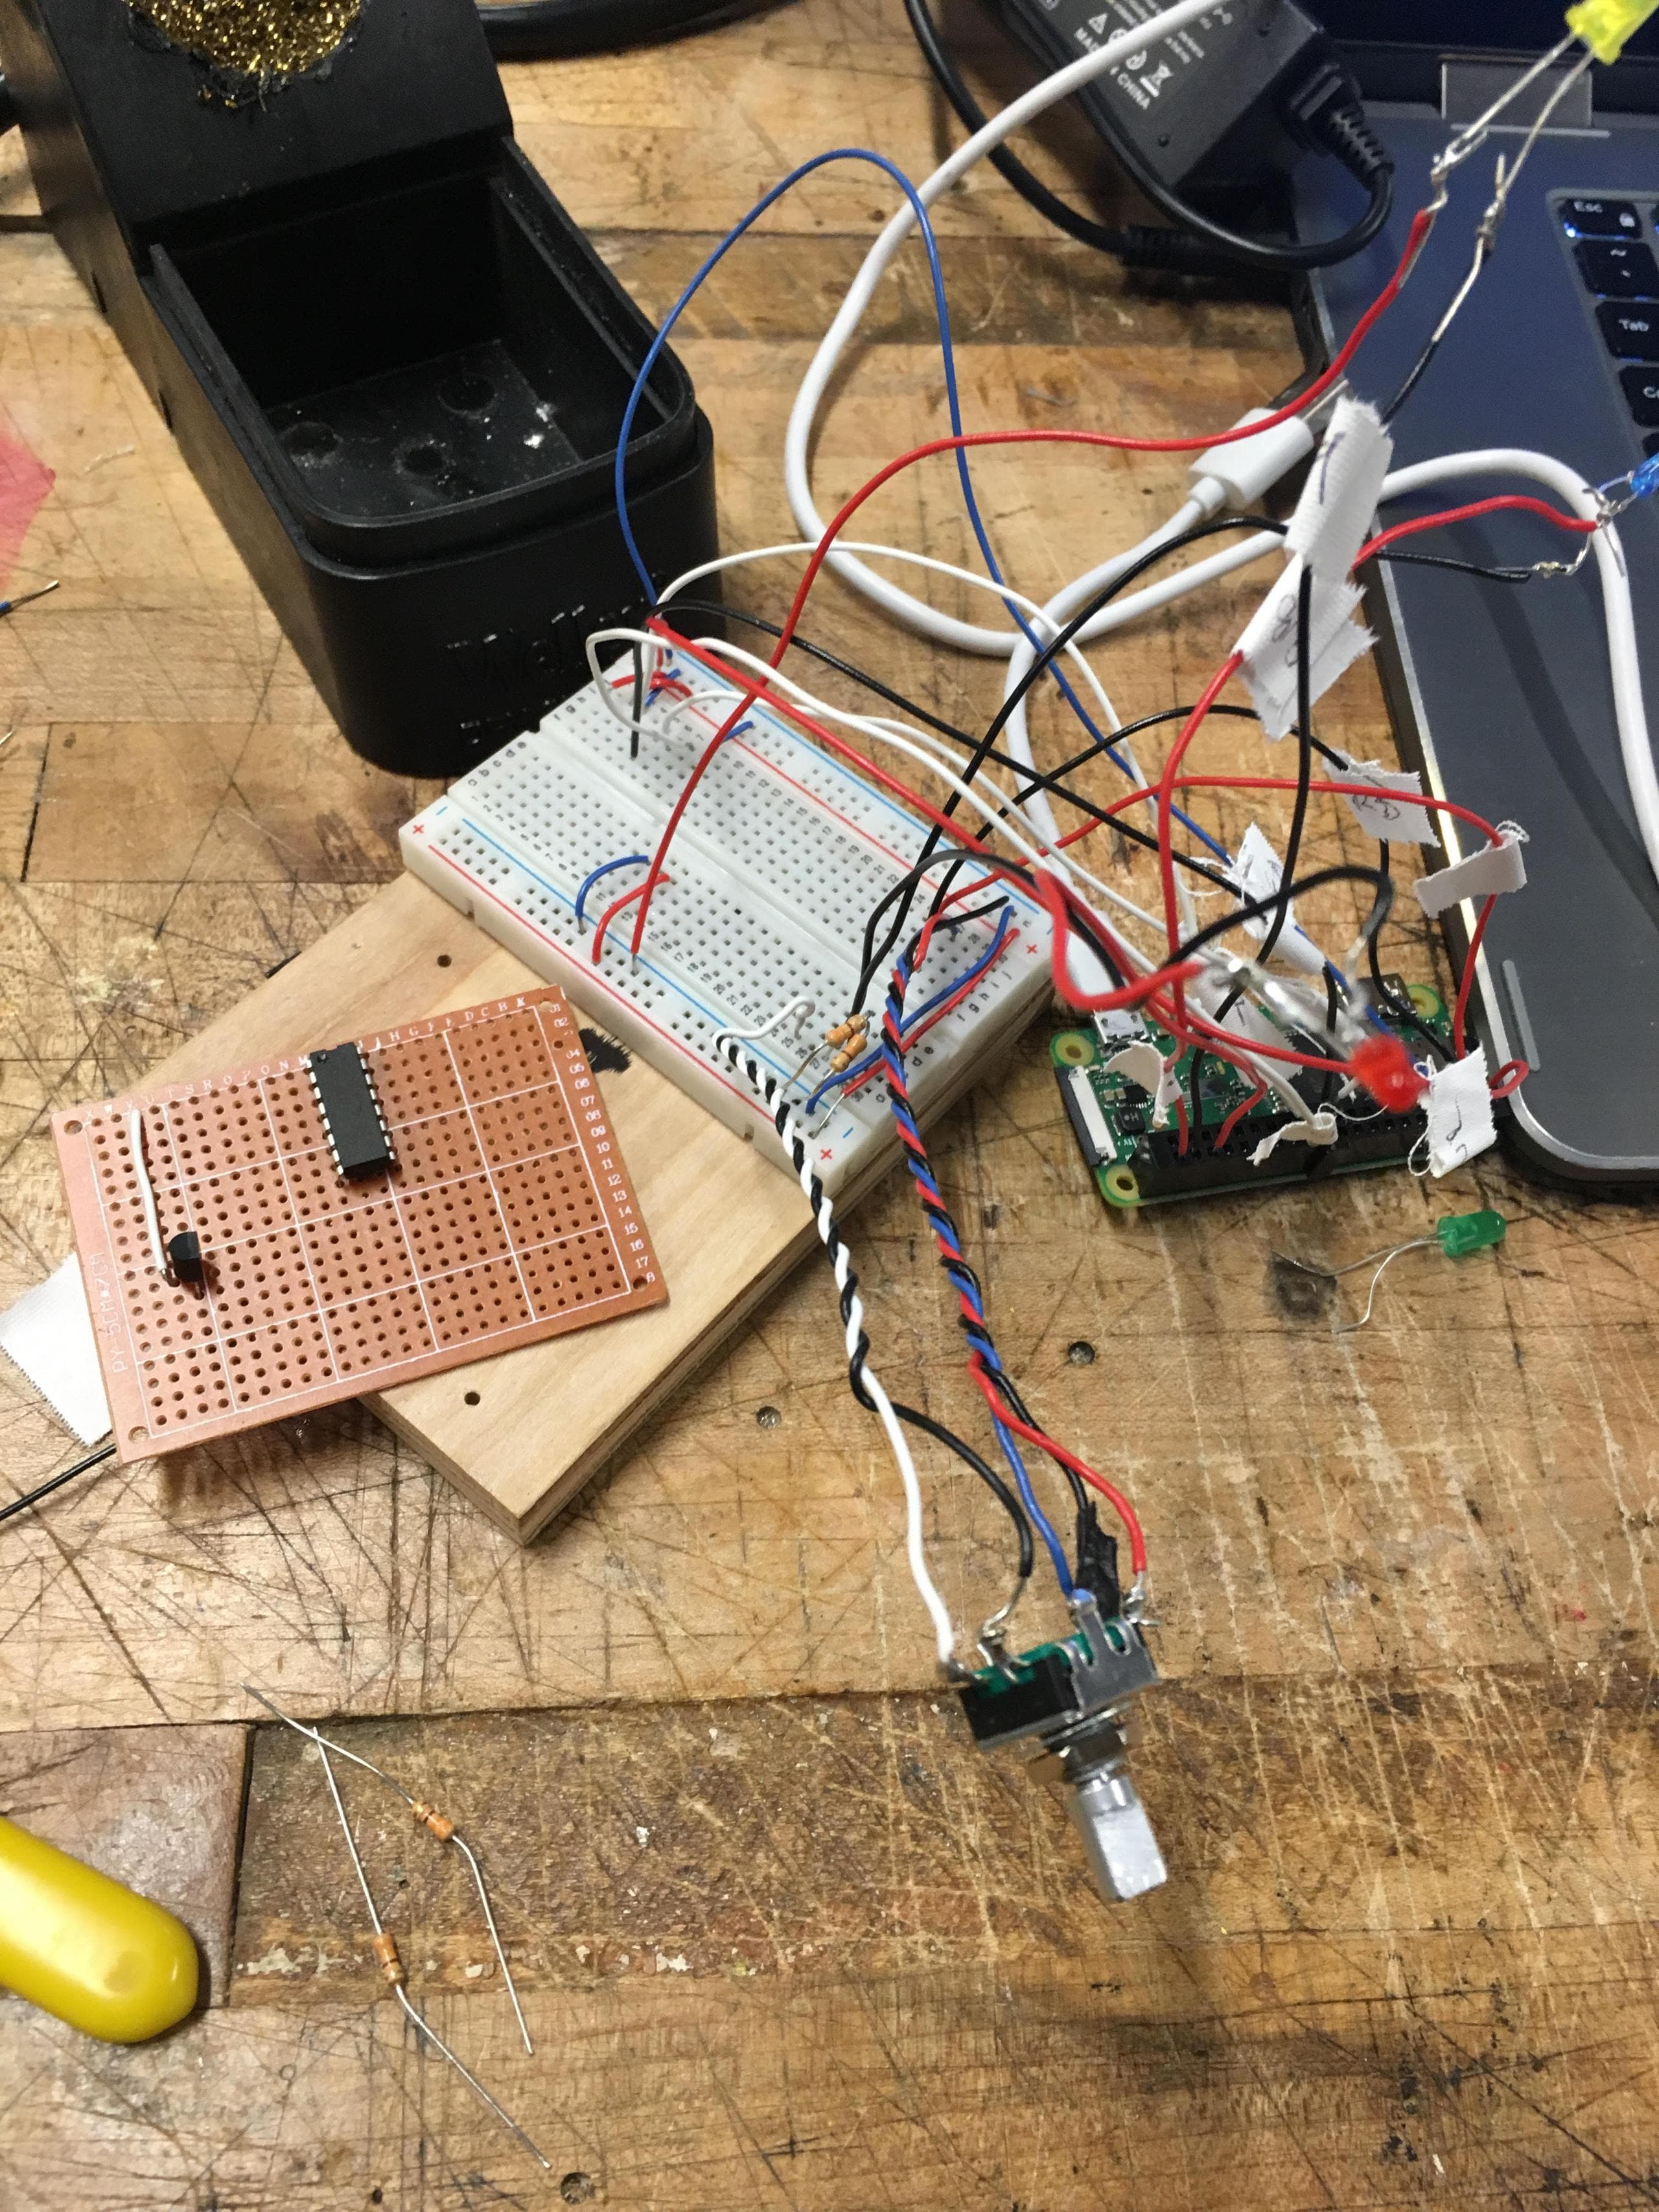
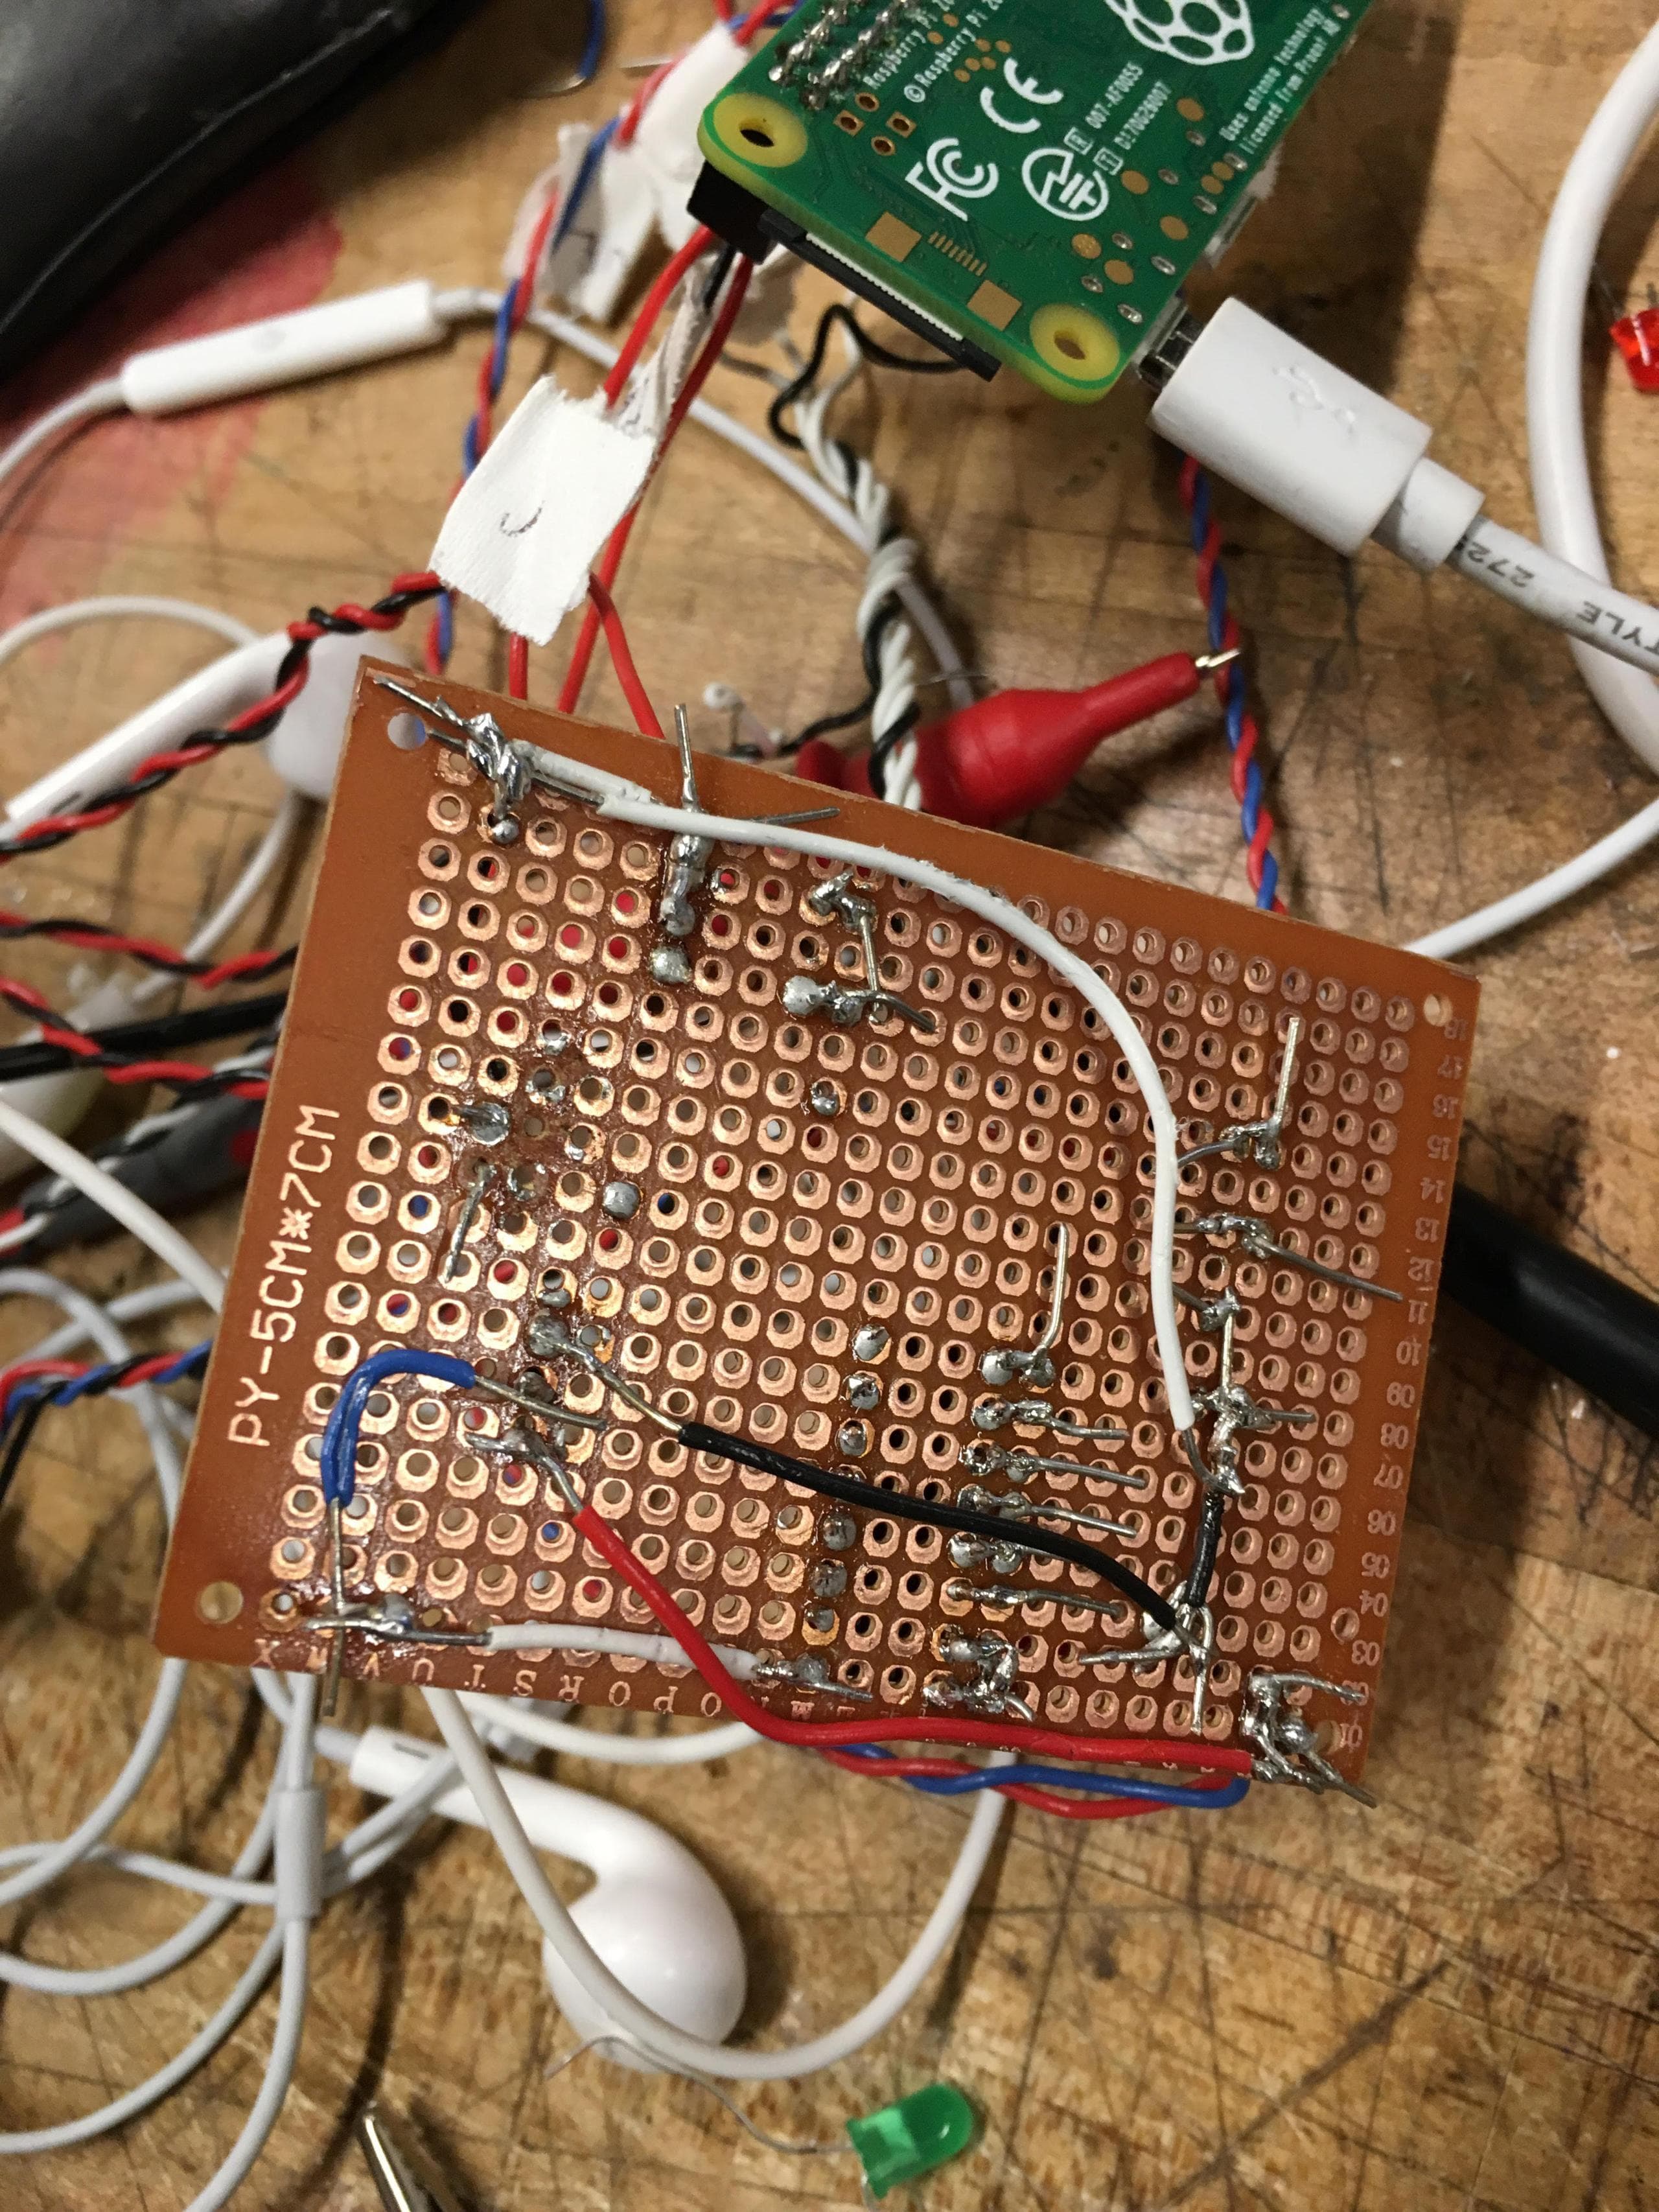
If I were to do it again, I would use longer wires.
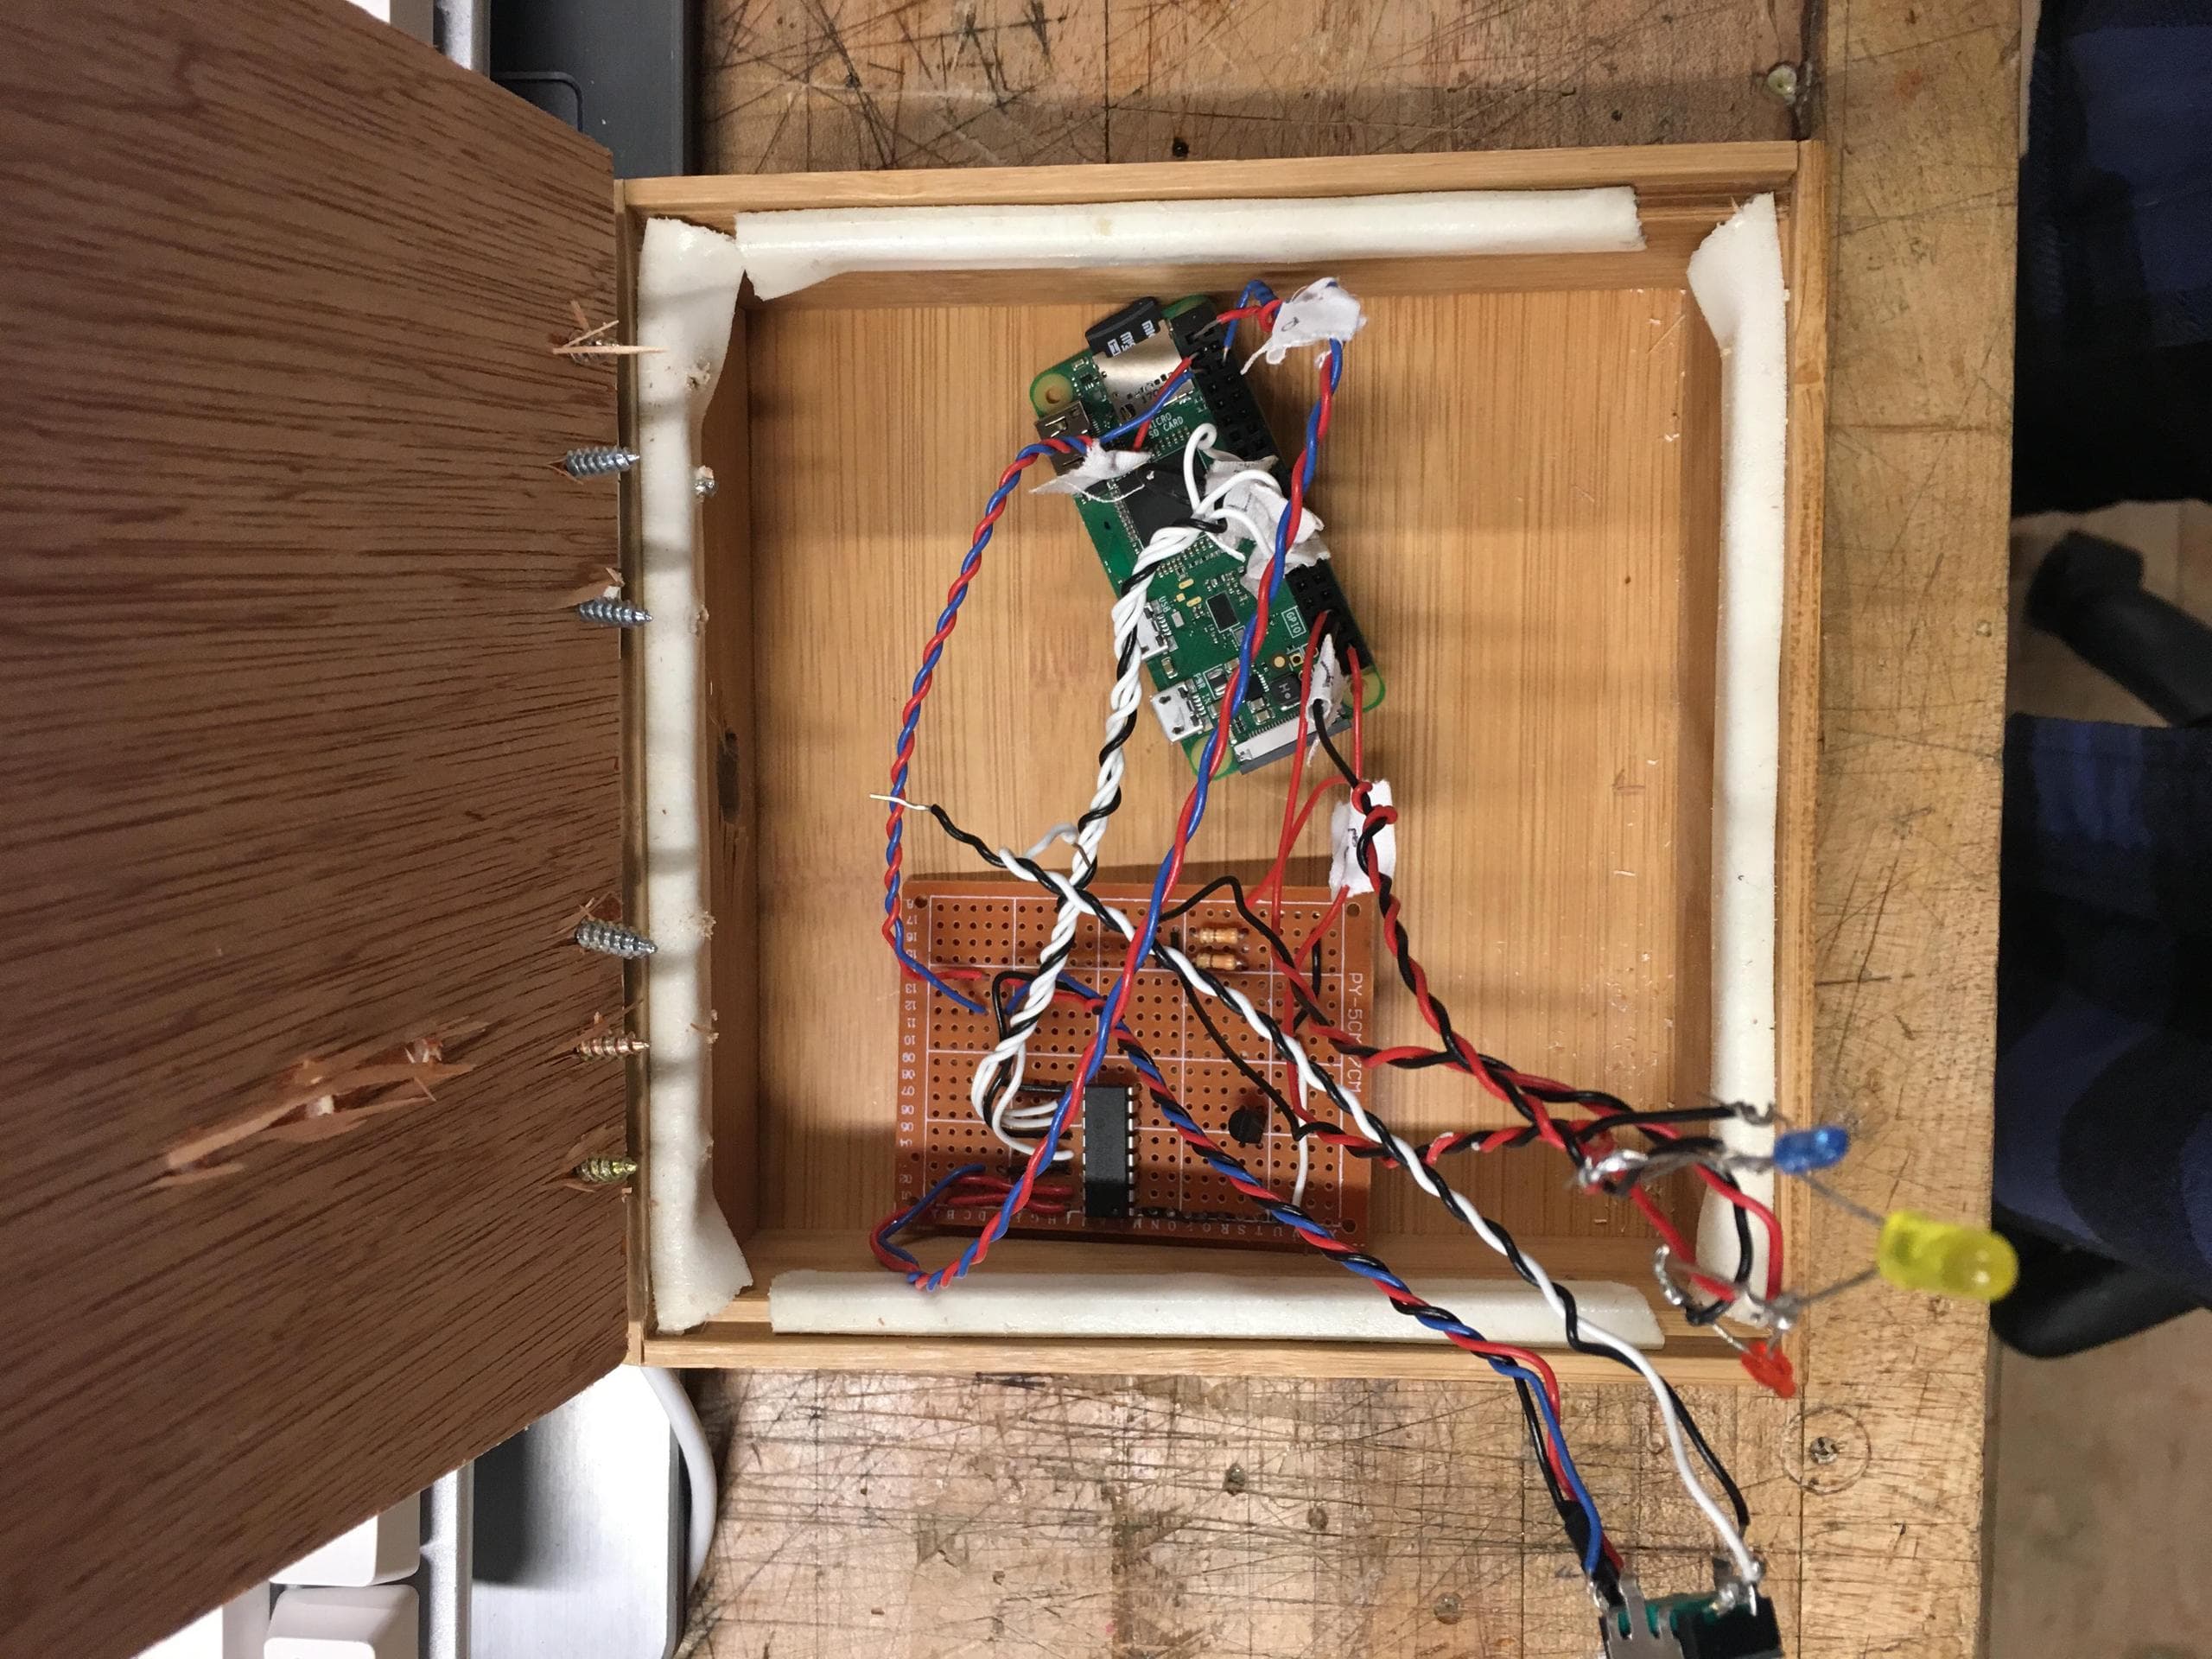
Enclosure
I ended up making a simple enclosure with very simple mechanics. All it has is a knob and some lights.
Conclusion
While there were a few roadblocks while doing this project, I had a lot of fun doing it. I'm glad that my vim skills came into use and more practice with nodejs.
I watched some of my classmates working with the MKR and it seemed that there were a lot of problems with the MKR board iteself. Also watching their workflow, it takes quite a bit of time for them to test their programs as every time they had to make changes to the code, it had to recompile, and connect to the wifi again, often taking quite a few minutes to see a result. Unlike the rraspberry pi which stays connected to the internet and testing changes to the scripts was a quick process.
Anyways, we'll see how my project holds up after a week.
In place in the shop: